Showing posts with label diy. Show all posts

Monday, April 1, 2013

$70 front entryway makeover - DIY Board and batten!

 This weekend I did one of my favorite room makeovers ever. Surprisingly, it was also the least expensive, and the only one I've ever done without Joel's help. 


Our front hallway was seriously lacking in the beauty department. For whatever reason, the previous owners decided that painting it avocado green and slapping a weird, sideways rail around the room was acceptable. Even more confusing, Joel and I lived with the room like this for almost five months before I did anything about it.

Joel was tied up all weekend working on our hardwood herringbone kitchen floors (which are looking killer, by the way) so I wanted to find something I could do on my own to help beautify our house.

I've seen tutorials all over the internet for DIY board and batten, and finally decided that I would give it a try. It ended up being even easier than I could have imagined. I feel silly for living with this hideous vegetable colored mess of an entryway for so long.


I began working on my entryway on Friday (which I had off from work.) The first thing I did was  prime the entire room white. I even painted the wood baseboards and molding, which was so boring but needed to be done so badly.


Once that was finished, I began to figure out my room. I knew that I was going to place my batten strips 16 inches apart, because that's how far apart the studs in the room are (this actually ended up not mattering anyway, which you'll see later.) I decided to place my top rail 3 feet up from my baseboards, which was really an arbitrary height that just seemed to work in the space.


I made a sketch of my space, and figured out how many battens I would need (13, at about $1.50 each) and how many feet of wood I would need for the top rail (about 20 feet of 1x3 wood, so I needed 3 pieces of 1x3x8 pine at $1.27 a piece.) The wood itself cost me about $30. I also bought some paint (a mistint at $10) a new rug for the door, and some hooks.

When I got home, I began to space my battens apart on the wall. I would tape them up using painters tape, then use a level to make sure they were straight (since the painters tape wasn't too tight, I could slide them around to make them level.)


To make the job easier on myself, I had a scrap of 1x3 cut to 16 inches, which I used to space my batten evenly. 


 Once I had a walls worth of battens placed, I used a nail gun to secure them in place.


Once the batten was nailed in, I was able to slide the rail in place. Since the batten was all cut to the same length, the rail was level to begin with. I used my nail gun to secure the rail.


To secure the rail, I used a drill to add screws every time there was a stud. Since I had initially spaced my batten 16" apart, this should have been easy, but it turns out I still needed to use a stud finder to find some of the studs. I guess things like electrical switches, compounded by the fact that this house is weird and old, made the studs not totally evenly spaced.


Once the screws were in, it was time to sit back and adore my wall. 

It took about an hour to put the board and batten up around the whole room. It went so quickly. Once I was done with the wood, I used wood filler to cover up the holes from my screws, and used caulking to fill in any cracks between the walls and my rail.


 The next day, I began painting. I did the top part of my walls first, because I figured if I dripped anything, it would be easy to cover with the white.

Next, I painted the board and batten white, and that really changed the entire room. I added some hooks, an old chair I made over a while ago, and some homemade art work.

I'm in love!


Our floors are really coming along. I'll hopefully be posting about them this week!

Monday, March 25, 2013

The view from my living room couch


Our floors are here! They have been "acclimating" for the past few days. I use quotations because I don't know what they're actually doing. All I know is that hardwood acclimation has to do with moisture levels, and if you don't let them acclimate for at least 2 days or 3 days or 90 days depending on what website you check, your floors will explode and your husband will never let you get hardwood again. So right now, we're waiting.

As I mentioned here, we have big ol' plans for this hardwood. We are going to be laying it in a herringbone pattern, and just about everyone has made sure to tell us that it would be easier to lay them straight. I argue that it would have been even easier to not rip out our perfectly fine ceramic tile in the first place. But we did that, so here we are.

Just in case the process of laying herringbone flooring didn't seem daunting enough, we've also decided to stain the floors in three different colors. We'll be doing a light, medium and dark stain, mixed up throughout the flooring. My goal is for it to look like this:


but since we have no experience with laying flooring of any kind, let alone complicated patterned hardwood, I'm open to the idea that this all may not work.

We'll be starting the whole process on Friday, and I will definitely keep everyone updated!

Sunday, February 24, 2013

Rustic X Coffee Table DIY


This is a project from about a month ago, but I completely forgot to blog about it until now! Joel made this table for us on the Saturday before the Super Bowl, because we were hosting a party and needed somewhere for our guests to put their snacks.

I found the plans at Ana White, and Joel followed them pretty exactly. I was out while he built the table, but he did his best to take a few iPhone pictures of the process.


The table was so fantastic looking, and I couldn't wait to get my hands on it. Even before Joel actually built it, I debated the treatment that I would give it - stain, or paint? I wanted to have that weathered, beachy, washed out grey look, and I wasn't quite sure how to achieve it. I finally came across some tips about how to oxidize wood. This is a process that basically rapidly ages your wood by exposing it to a rusted steel wool solution.

The formula is simple:
 In a Mason jar, mix a roll of fine steel wool (not the grocery store kind, but the stuff you buy at the hardware store) with some vinegar. I did about half a jar of vinegar and one roll of steel wool. Let it sit for a few days, and it's ready to go.

I will note here that after a few days, my mixture did not look ANY different. I was really disappointed, and was sure that I must have done something wrong. Many people online said that their solution turned brown or red, and mine definitely hadn't. I'm so glad I gave it a try instead of giving up on it though, because it worked so well! 4 weeks later, my solution is still clear.

The day that you are going to apply it to your table, you also need to brew some strong tea. I used 8 teabags to about 2 cups of water, so that it was strong and black.

Begin by painting your wood with the tea mixture. This isn't intended to change the color of the wood, instead it just provides a base for your vinegar solution to react with. I let mine sit on my wood for about ten minutes, then I brushed my table with my vinegar solution. The solution doesn't smell great, so it would be a good idea to do it outside or in a well ventilated area. I also found it was very drippy, so cover any important surfaces before you begin.

After about ten minutes, like magic, the table began to change color.  The color you get won't be 100% consistent, but I think that's part of the charm of this kind of table. I waited a couple of days and then did a second coat on just the top of my table, to give it some contrast. It darkened up even more, and it became exactly what I was looking for.


 Below you can see the contrast I did, by oxidizing the top twice and the bottom only once. I think it just gives the table an extra something!


 Below is a good example of the somewhat inconsistent results you can expect. I could probably sand down the darker spots to make it one fluid color, but I kind of love how it looks!


Have you ever tried this process before? Do you plan on trying it anytime soon? I'd love to see your results!

Friday, February 22, 2013

DIY - Plastic animal bookends - $3.50


I've been searching for a while for a good set of bookends, and finally found the ones I wanted, by Jonathan Adler.


Only problem? They're $120. I figured that surely, I could come up with something similar, for much cheaper. After seeing these, I knew that I wanted bookends that were white, and that featured an animal. Other than that, I was open.

With my new inspiration, I went to the dollar store, and searched the plastic animal section for the perfect animal. I finally settled on a deer, mostly because I thought the antlers would look great. I was a bit worried about the fuzzy coating on my deer, but this ended up not being a problem, as you'll see later.


Next, I needed to find something L-shaped that would support my deer halves. I literally walked around the dollar store looking for L-shaped products, until I finally came across some metal picture frames.


 The first step to this DIY is cutting your little animal in half. This was a bit harder than I thought, because the plastic was pretty thick. As I was cutting, I noticed that the fuzzy coating on the deer was starting to peel off. This was perfect! I kept peeling until I had removed all of it.

Once the deer is cut, it's ready for spray paint.


The frames had a bit of a bend to them, so I straightened them up and removed the glass before spray painting them.


I gave the deer and the frames several coats of spray - probably 4 in total, over the course of a few days.


Once I was finished, everything was nice and white!


 The next step is to add something to your animal to give it some stability. I used plasticine, filling up the hollow body until it had a good weight to it. It just makes them a little bit heavier against the books.


The last step is gluing them onto the frames. Before I did this, I had my husband sand my ends a little bit straighter, so that they'd sit flush with the frames. Since my deer was so thick, my cuts were pretty jagged, and they just weren't lying flat along the frames. He used an orbital sander on the edges for a few seconds, and they were good to go.

I added some pretty paper into my frames, and glued the deer right onto the glass. I wouldn't say this is the MOST stable solution - you may be better to glue onto the metal, but I just loved the way the paper looked!

After that, they're finished! I love the way they look. They're definitely no Jonathan Adler bookends, but for $3.50, they'll do!

I think it may look cute to paint the just the feet gold. I may try this over the weekend to see how it looks!


Tuesday, February 19, 2013

Aged wood floating shelves - DIY with instructions!


I could not be more excited to share our most recent kitchen project with everyone! For this project, we had the amazing opportunity to team up with Ottawa's new Lowe's location on Hunt Club. For the longest time, I've been so excited about Lowe's coming to Canada. We frequently go shopping across the border, and it's always been one of our favorite stops (Joel loves their selection of electrical tools, and I just love anything to do with renos and decorating.) I couldn't have been happier when I heard that we were not only getting another location in our city, but that it was about 3 minutes away from our house!

Lowe's was kind enough to agree to team up with us as we built our aged wood floating shelves, and we are just so happy with the results!

In our house, we do a lot of projects using old wood (such as our counters and our pallet wall.) 
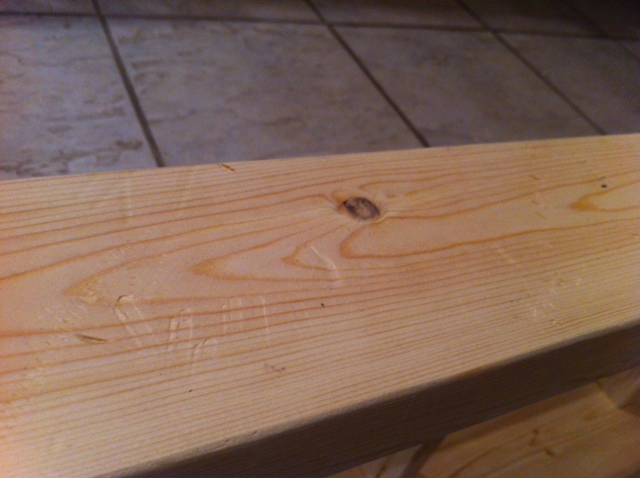
For these shelves, we wanted to find a way to make new wood look old, so that it would keep in the tradition of the other projects we've done in our house. We found an idea for shelves here, and drew up some plans so that they would fit our home.

We made our big trip to Lowe's on Valentine's Day, which is actually pretty appropriate for us. I had to drag Joel away from the power tools so that we could choose our supplies for our shelves.

Here are the plans we came up with for our shelves, which hopefully some of you can use:


Buy list:

  •  Four 2 x 4 x 8 feet
  • Two 2 x 1 x 8 feet
  •  Plexiglass (enough to make three pieces that are 9” x 38”)
  •  12 hex bolts (5/8 diameter) and washers

Cut list (if take this with you to Lowe’s and they can do the cuts for you!)

  • Six 2 x 4 x 41” (these are the front and back of your shelves)
  • Six 2 x 4 x 9”  (these are the sides of your shelves)
  • Fifteen 2 x 1 x 9” (five support slats per shelf)
  • Plexiglass – three 9” x 38”

We did our cuts at home, but we could have just as easily had them cut for us at Lowe's. I think Joel is just so happy to have a garage to work in that he looks for any excuse to get his tools out!


 After you've made the cuts, you can start to assemble your shelves.


 Joel always uses a drill to pre-drill the holes, which lessens the chance that the wood will split. Then, he uses an impact to screw in the screws (for this project, he used 2 1/2 inch screws in black.)


 While Joel worked on this, I started to spray the hex bolts and washers in a flat black. I love Rust-Oleum's Universal spray paint in Flat Black. I've used it for several projects, and just love the flat, matte finish it gives.
 A good tip for spraying all around screws quickly is to lightly screw them into a piece of cardboard - that way they stand up, so you can get all sides in one spray.


After the box is assembled, the next step is to cut the Plexiglass. Some of the Lowe's locations in our city are able to cut Plexiglass in store, but Joel and I were curious to try doing it ourselves with a plastic cutting tool. We knew our exact measurement needed, but decided to use the assembled box to trace out our cuts anyway, just in case. We drew light lines onto the plexiglass using pencil, then used a T-Square to make sure that our cuts were crisp.

It was nice to have two people on this - I held down the T-Square while Joel cut with the plastic cutter. Don't you love how we did this whole project in our living room? It's just too cold here to work in the garage.

Once you've gone over your cut line several times, the Plexiglass should just snap apart.


Now you're going to put the Plexiglass under the box, and start to insert the support slats. If you do this upside down on a flat surface, it will naturally leave that small amount your Plexiglass needs to sit on top of.


Place one slat flush with the side wood, then space out your slats 9.5" from each other (I can tell that I took this picture before all of the slats were perfectly spaced!) Use a brad nailer with 2" nails to attach your slats.
 

Then, flip your shelf over, and sit your lovely cut of Plexiglass on top.

While Joel worked on finishing building the shelves, I started to paint our shelf wall. It had previously looked like this, so it definitely needed some paint!


Once the shelves are all made, it is time for the fun part - making the wood look aged! This is a lot simpler than you'd think. First you need to find a bunch of different kinds of metals:


Then take your hammer and bang the heck out of your wood. Different mediums give different results. In some spots I just used the hammer and hit random patterns:

 Here you can see where I hammered the screws, the end of the key, and the flat part of the screwdriver. I also hit the corners of my wood, to give them a more rounded look.


It looks silly while you're doing it, but the stain sort of finds its way into the dings, and gives a nice, natural, darker-than-the-rest-of-the-wood look. (I'll also say that it was almost impossible to get good photos of this process, as it was midnight and the lighting was just terrible.)

My next step to making my wood look aged was in the staining. I started by applying my stain, Minwax in Dark Walnut, all over my wood, leaving it on for a good 15 minutes. After removing it, I went over just the edges, leaving it on another 10 or so minutes, to give the illusion of an unevenly stained piece of wood (the middle piece is finished, and the top and bottom still have stain on them.)


The last piece of the puzzle was adding on our matte black hex bolts. We bought short bolts, as we were just adding them on for aesthetics, not to actually hold the wood together.


Since ours were just for looks, Joel pre-drilled holes close enough to our screws that the washers would cover them. To install the hex bolts, use a 9/16ths socket.


At this point, the construction is done! Now, onto the installation.

Joel really wanted to do under cabinet lights, and when he saw these ones for $35 at Lowe's, he was pretty set on having them for our shelves. These lights are extremely easy to install, especially if you are going to keep them on a plug (as they're intended to be used.) Joel's an electrician, so he decided to rig them up to a switch so that we could switch them on and off when we want to use them. He installed three lights on the bottom shelf, under three of the support slats.


To install the shelves, we just measured our area, and decided what was a reasonable amount of space to have for dishes in between shelves (a bit over 11"). We made sure the shelves were level, then I would hold while Joel screwed them into the studs.


Love those beauty lights!


Then, it was just a matter of getting the rest of the shelves up:

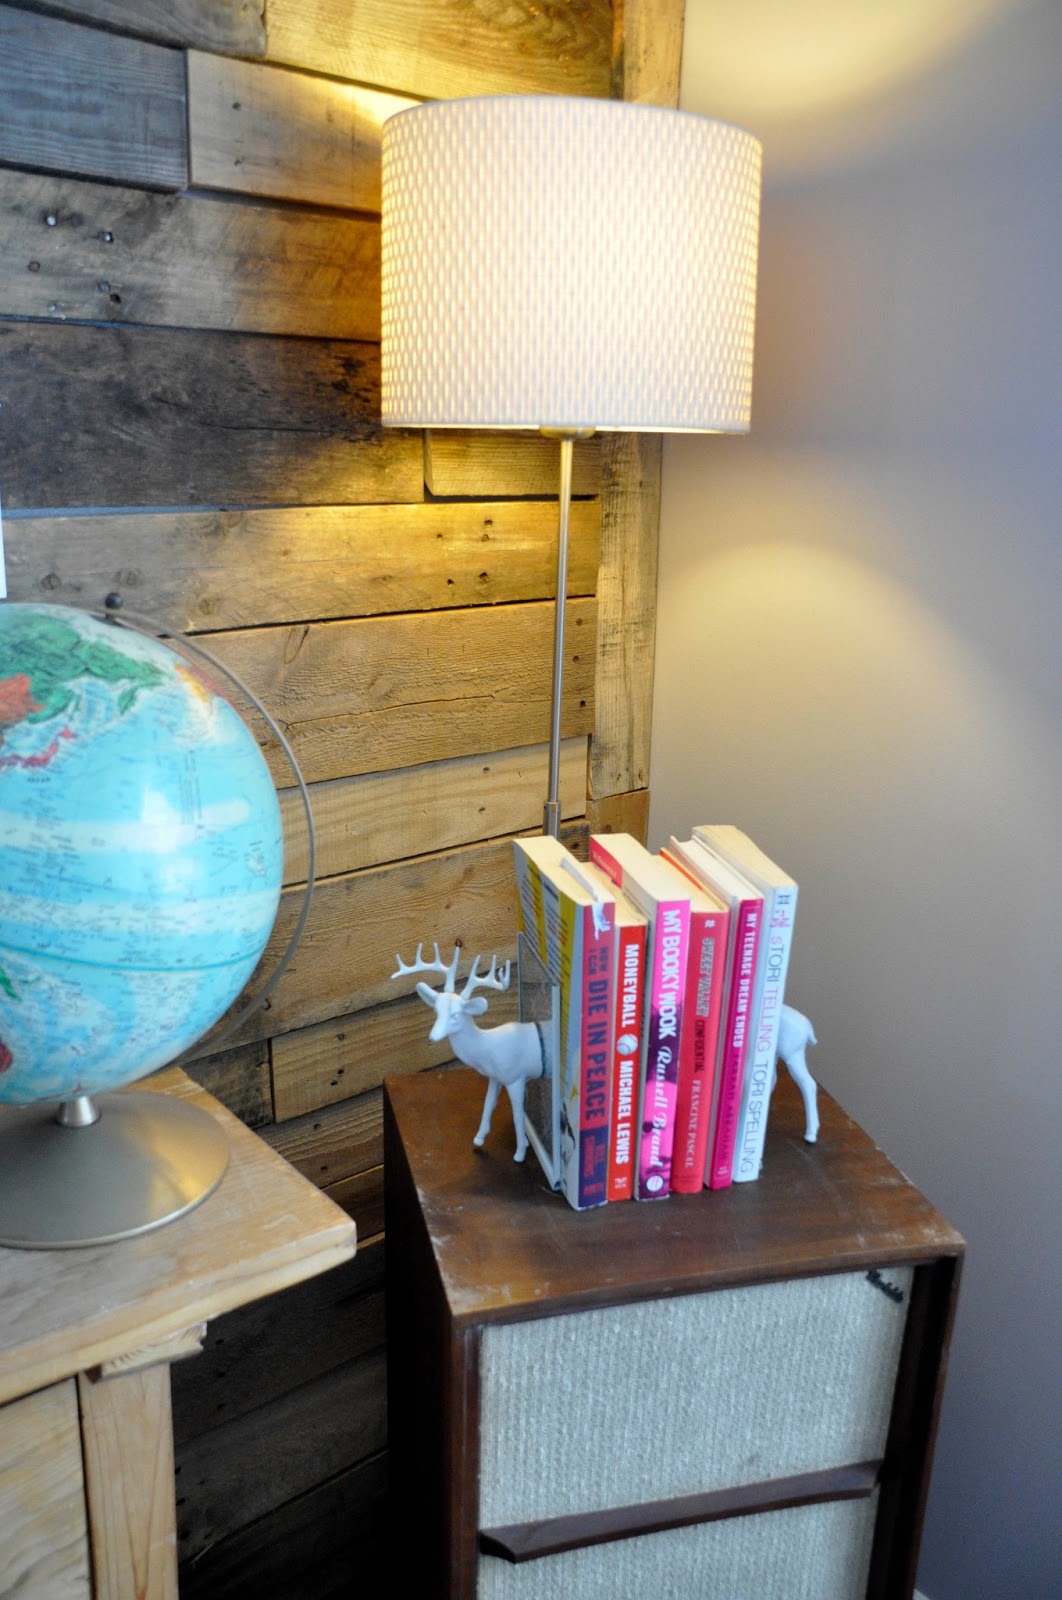
And finally... the beautiful, aged looking floating Plexiglass shelves were finished!


I love how the dishes look like they're floating from underneath. Is it wrong that I want to sit under my shelves and stare at them all night?


Here you can see some of the details from where I aged the wood:


We are so happy with our shelves, and SO thankful to the Lowe's on Hunt Club for teaming up with us for this project!


Here's what we have left to do in our kitchen:
  • rebuild the cabinets under and beside the sink
  • paint all cabinets (eek!)
  • change out all hardware
  • install shelves where the open cabinets are
  • remove old backsplash 
  • install hexagonal backsplash
  • paint walls
  • remove old floor and install new floor
  • remove the panel in front of sink window
  • new tiles in greenhouse window
  • some kind of window covering for the greenhouse window
  • put up some beautiful artwork
 We're definitely getting there! Next step - backsplash!